
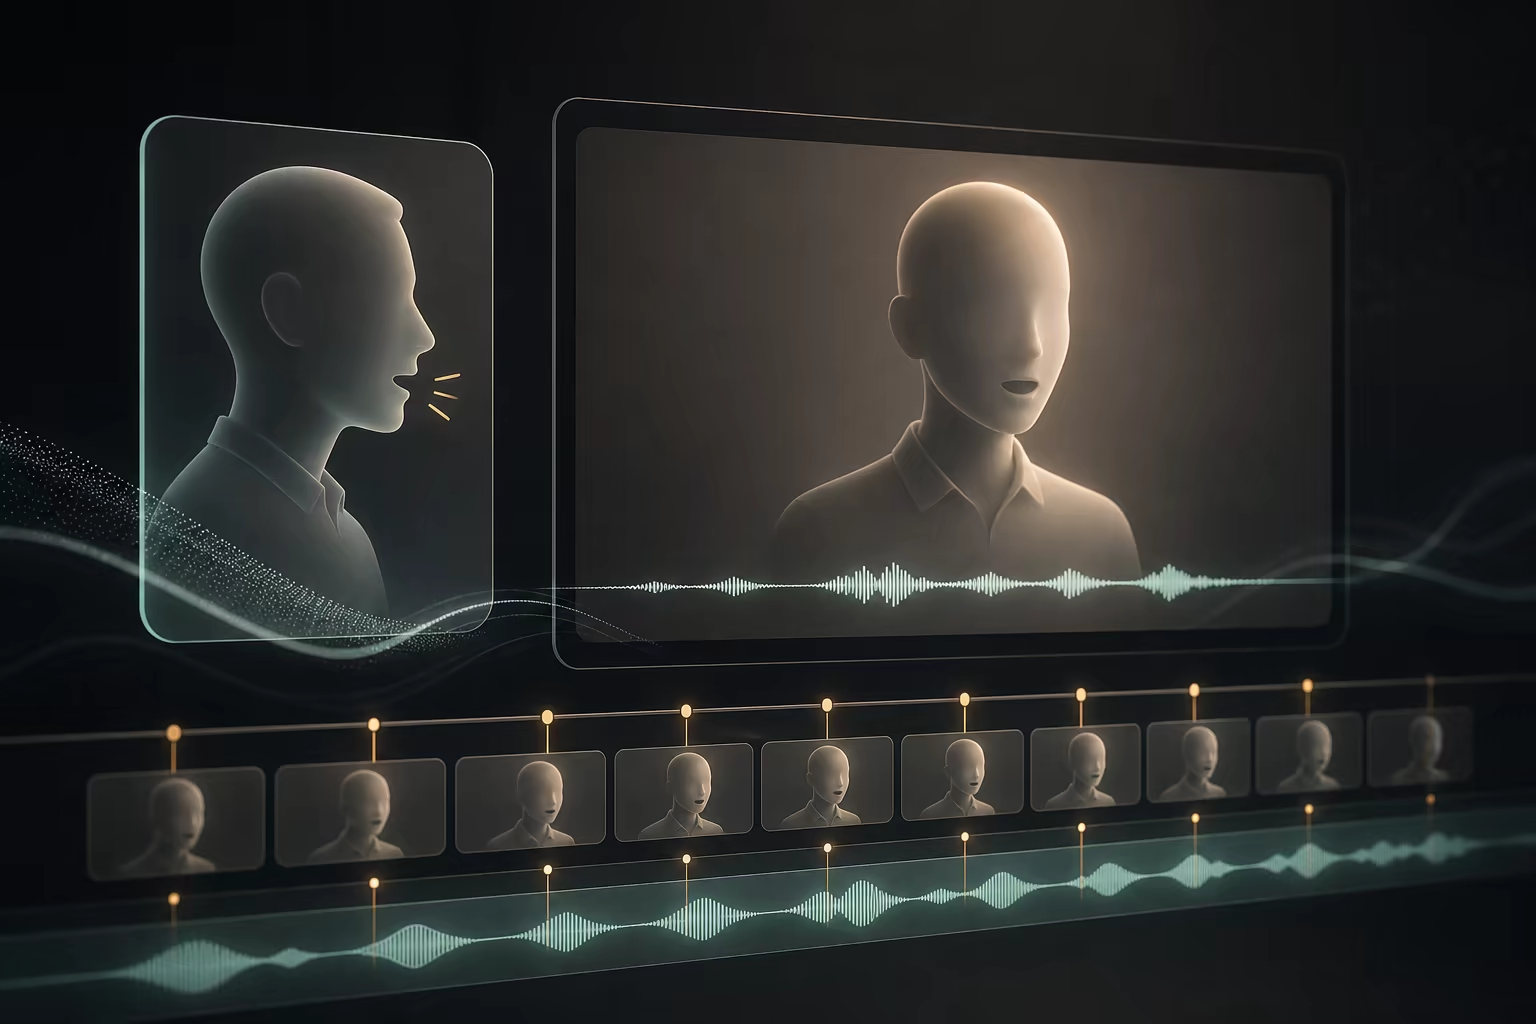
How to Transfer Motion From Video to Character With AI
Learn how to transfer motion from video to character with AI. Prepare the image and reference clip, choose real settings, write prompts, and fix common failures.
To transfer motion from video to character, upload a character image and a reference video that clearly shows the movement you want the character to perform. The image defines the character's visible appearance. The video defines the pose sequence, timing, gestures, and performance rhythm.
Quick answer: Open AI Image to Video Motion Control, upload one JPG or PNG character image, add a 3–30 second MP4 or MOV reference clip, choose whether character orientation follows the video or image, select 720P or 1080P, and generate a short test. Kling 2.6 also accepts MKV video; its Image Orientation mode is limited to 10 seconds.
This workflow creates a new rendered video. It does not export an animation skeleton, rig, FBX file, BVH file, or editable motion-capture data.
What motion transfer does
Motion transfer separates two parts of a performance:
- Character appearance: face, hair, clothing, proportions, illustration style, or creature design from the image
- Performance guidance: pose changes, movement path, gesture order, timing, and rhythm from the reference video
The model analyzes the reference clip and generates new frames in which the image character attempts to follow that performance. The result is more directed than ordinary image-to-video generation because the action already exists in the reference.
Motion transfer is still generative. It does not copy every joint coordinate exactly, and it can reinterpret difficult anatomy, occlusion, props, camera changes, or background motion.
Motion transfer vs related workflows
| Workflow | Input | Output | Best used when |
|---|---|---|---|
| Motion transfer | Character image + reference video | Generated character video | You need a specific visible performance |
| Image-to-video | Image + prompt | Generated video | The model can invent the movement |
| Character swap | Existing video + replacement character | Recast generated video | Replacing the performer is the main goal |
| Traditional motion capture | Tracked performer or mocap data | Skeleton or animation data | You need an editable 3D animation pipeline |
Use AI Image to Video Motion Control when the action is the instruction. Use Character Swap AI when replacing the person in an existing scene is the central goal. Use AI Photo to Video when you do not have a reference performance and only need prompt-directed animation.
Verified input limits in the current editor
The site currently exposes Kling 2.6 Motion Control and Kling 3.0 Motion Control. The following values come from the implemented form controls, upload routes, request validation, and model-provider requirements.
| Parameter | Kling 2.6 Motion Control | Kling 3.0 Motion Control |
|---|---|---|
| Character image type | JPG or PNG | JPG or PNG |
| Maximum image upload | 10MB | 10MB |
| Minimum image dimension shown in the editor | Greater than 300px | Greater than 340px |
| Reference video type | MP4, MOV, or MKV | MP4 or MOV |
| Maximum video upload | 100MB | 100MB |
| Reference duration | 3–30s in Video Orientation; 3–10s in Image Orientation | 3–30s |
| Character Orientation | Video or Image | Video or Image |
| Background Source | Not exposed as a separate control | Input Video or Input Image |
| Quality | Standard 720P or Pro 1080P | Standard 720P or Pro 1080P |
| Prompt | Optional | Optional; provider validation caps it at 2,500 characters |
Kling 3.0's provider requirements also specify an aspect ratio between 2:5 and 5:2 for both the image and motion video.
The editor clips and transcodes the selected reference range. It passes the applied duration to the generation request and uses that duration when calculating the live credit estimate.
How to transfer motion from video to character step by step
Step 1: define the movement you actually need
Do not start by looking for a visually impressive reference. Start by writing down the action:
- A five-second greeting with one wave
- A seated explanation with hand gestures
- A continuous dance phrase
- A short walk and turn
- A martial-arts strike
- A product demonstration
One clear action is easier to evaluate than a montage. If the intended output is a 20-second social video, it can be safer to design it as several controlled shots rather than one reference containing multiple cuts and unrelated movements.
Step 2: choose a readable reference video
The reference video is the motion instruction. A useful source makes the motion easy to see:
- One main performer
- Head, torso, and relevant limbs visible
- Stable camera or intentional, smooth camera movement
- No rapid edits inside the selected range
- Limited overlap with other people or foreground objects
- A clear first pose
- Enough contrast to separate the performer from the background
Avoid using a group performance when only one character will be generated. Avoid a close crop if the important action happens in the legs. Avoid starting halfway through a turn or jump because the first generated frame must reconcile the still image with that pose.
The model accepts up to 30 seconds in supported modes, but the maximum is not automatically the best starting point. Use a short diagnostic range first.
Step 3: prepare the character image
Match the image crop to the reference action.
For full-body motion, the image should show the full body, including hands and feet. For a talking or gesturing reference, an upper-body image can work if the reference uses similar framing.
Use an image with:
- One clearly identifiable character
- A face large enough to read
- Even lighting and visible facial features
- A pose reasonably close to the reference's first frame
- Clean separation between the character and background
- Clothing and limbs that are not cut off
JPG and PNG are supported. The app upload route limits images to 10MB. Kling 2.6's interface asks for an image larger than 300 pixels, while Kling 3.0 asks for dimensions greater than 340 pixels.
Higher pixel count alone does not guarantee a better source. A sharp, naturally lit image is more useful than a heavily upscaled image containing compression artifacts or invented detail.
Step 4: choose Kling 2.6 or Kling 3.0
The two current models share the same basic inputs but expose different controls.
Kling 2.6 Motion Control
- Accepts MP4, MOV, and MKV references
- Offers Video Orientation up to 30 seconds
- Offers Image Orientation up to 10 seconds
- Provides 720P Standard and 1080P Pro output choices
Kling 3.0 Motion Control
- Accepts MP4 and MOV references
- Supports 3–30 second references in the current editor
- Adds a Background Source setting
- Provides 720P Standard and 1080P Pro output choices
If both models fit the file and duration, compare them using the same short clip. Keep the image, selected range, orientation, quality, and prompt unchanged so the comparison isolates the model.
Step 5: set Character Orientation
Character Orientation tells the model whether the generated character should be guided more by the orientation in the reference video or the uploaded image.
Choose Video when following the reference pose direction and camera-facing behavior is the priority. This is the default in the current editor and supports references up to 30 seconds.
Choose Image when preserving the source image's orientation is more important. In Kling 2.6, this limits the reference to 3–10 seconds. Kling 3.0 currently allows up to 30 seconds for either orientation.
This setting is not the aspect ratio control. A vertical 9:16 clip can use either Character Orientation option.
Step 6: choose Background Source in Kling 3.0
Kling 3.0 can guide the generated background from:
- Input Video: appropriate when the reference environment, camera, and scene should remain central
- Input Image: appropriate when the character image's environment should influence the result
If the image is a transparent-looking character on a plain background and the goal is to place it into the recorded performance, Input Video is the logical first test. If the character is already inside a carefully designed environment that should remain visible, test Input Image.
The result remains generative; the setting is guidance, not a guarantee that every background pixel will remain unchanged.
Step 7: choose Standard 720P or Pro 1080P
Use Standard 720P for setup tests. It costs fewer credits and is sufficient for judging:
- Whether the character follows the action
- Whether the starting pose is compatible
- Whether orientation is correct
- Whether the background source works
- Whether the face and body remain recognizable
Use Pro 1080P after the input pairing is working and output detail matters. A failed composition at 720P usually remains a failed composition at 1080P.
Step 8: add an optional prompt
The prompt should not repeat every movement visible in the reference video. Use it to reinforce the character, scene, and visual constraints.
Animate the uploaded character using the reference performance.
Keep the same face, hair, outfit, and body proportions throughout.
Preserve the gesture timing and camera-facing direction.
Natural movement, stable hands, consistent clothing, no extra people.
For Kling 3.0, you can also make the intended background treatment explicit:
Use the movement and timing from the reference video.
Keep the uploaded character's appearance consistent.
Retain the reference-video environment and camera position.
The provider accepts a long prompt, but a 2,500-character limit is not a target. Extra instructions can conflict with one another. Begin with the minimum needed to explain what the image and video do not already communicate.
Step 9: generate and compare against the source
Review the output beside the reference video. Do not judge only by whether the new video looks attractive.
Check:
- Does the same action happen in the same order?
- Are important beats early or late?
- Does the character face the expected direction?
- Are the face, body proportions, clothing, and style stable?
- Do hands and feet remain readable?
- Are contact moments with the floor, chair, prop, or body plausible?
- Does the background stay consistent with the selected source?
- Is the final frame still usable?
If motion fidelity is good but identity is weak, change the character image. If identity is good but the action is weak, change or trim the reference video. If both fail, the framing or initial pose may be incompatible.
How to choose the right framing
Framing mismatch forces the model to invent missing visual information.
| Reference framing | Recommended character image |
|---|---|
| Full-body dance, run, or walk | Full body with hands and feet visible |
| Waist-up presentation | Waist-up or wider |
| Seated conversation | Seated or similarly framed upper body |
| Close facial performance | Clear face and shoulders |
| Side-facing action | Similar side or three-quarter starting pose |
A front-facing portrait can sometimes be animated with a side-facing reference, but the model must reconstruct unseen parts of the head, clothing, and body. Use a more compatible image when consistency matters.
Prompt examples for common motion-transfer tasks
Dance or choreography
The uploaded character performs the reference choreography with matching
timing and body direction. Keep the exact character identity, outfit, and
proportions stable. Clean full-body silhouette and consistent hands and feet.
Talking avatar
Apply the reference speaker's upper-body gestures and posture to the uploaded
character. Preserve the character's face and clothing. Stable seated framing,
natural hand motion, and no background changes.
Mascot performance
Animate the mascot using the reference movement and gesture timing. Preserve
the mascot design, colors, proportions, and logo placement. Keep the motion
readable without adding human facial features.
Action reference
Transfer the reference action to the uploaded character. Preserve the action
order, direction, and pacing. Keep the character anatomy and costume stable,
with clear contact between the feet and ground.
Treat these as starting structures, not magic words. The image and video quality have more influence than decorative prompt language.
Common motion-transfer failures and what to change
| Symptom | Likely cause | Best first test |
|---|---|---|
| Character changes identity | Face is unclear or source is heavily stylized | Use a sharper, larger, evenly lit character image |
| Legs or arms deform | Reference limbs are cropped or occluded | Choose a wider, cleaner reference |
| Output starts with a visual jump | Image pose conflicts with the first video frame | Trim to a compatible first pose |
| Movement is incomplete | Action is too fast, complex, or hidden | Use a shorter range with one readable action |
| Motion timing drifts | Cuts or camera changes interrupt tracking | Use a continuous shot |
| Background flickers | Busy scene or wrong Kling 3.0 background source | Test the other source or simplify the reference |
| Character faces the wrong way | Orientation setting conflicts with the goal | Switch Character Orientation |
| Clothing morphs | Fine pattern, loose fabric, or repeated occlusion | Use a simpler image and shorter clip |
| Hands fail at one moment | Fast overlap or contact with an object | Trim around the moment or choose another take |
| Longer clip degrades over time | More opportunities for generative drift | Split the performance into controlled shots |
Change one variable at a time and keep a record of the settings. Randomly rewriting the prompt after every result makes the workflow harder to diagnose.
Building a longer video from short motion transfers
For a longer project, divide the performance into shots with clear start and end poses. Reuse:
- The same character image
- The same model and quality
- The same Character Orientation
- The same background strategy
- The same identity description in the prompt
- Compatible aspect ratios and framing
Generate and approve each shot before editing them together. A single 30-second reference is supported in some settings, but shot-based production gives you more control over failures and credit use.
Do not assume the last frame of one generated clip will automatically match the first frame of the next. Plan cuts at pauses, camera changes, or moments where a transition can hide small differences.
Motion transfer is not traditional motion capture
Traditional motion capture records or estimates movement and maps it to an editable skeleton or rig. That data can be adjusted in 3D software.
The workflow described here generates a finished video from an image and reference clip. It does not provide:
- Joint coordinates
- A reusable character rig
- FBX or BVH motion files
- Editable keyframes
- Guaranteed frame-exact retargeting
If your production requires animation data for Blender, Maya, Unreal Engine, or another 3D pipeline, use a motion-capture or pose-estimation system designed to export that data.
Rights and source-video quality
Use a reference video you recorded or are licensed to use. A clip found online may still be protected even if you only intend to copy its movement. Obtain permission before using a person's likeness, distinctive performance, choreography, costume, or branded character in public or commercial work.
Keep realistic AI outputs clearly contextualized when viewers could mistake them for authentic footage.
Frequently asked questions
Can AI copy movement from a video to a character?
Yes. Motion-control video models can use a character image for appearance and a reference video for performance guidance. They generate a new character video that attempts to follow the source poses, gestures, direction, and timing.
What image and video formats are supported?
The current Kling 2.6 workflow accepts a JPG or PNG image and an MP4, MOV, or MKV reference. Kling 3.0 accepts a JPG or PNG image and an MP4 or MOV reference. The app limits images to 10MB and videos to 100MB.
How long can the reference video be?
References must be at least 3 seconds. Kling 2.6 supports up to 30 seconds with Video Orientation and up to 10 seconds with Image Orientation. Kling 3.0 supports up to 30 seconds in the current editor.
What is the difference between Video and Image Orientation?
Video Orientation follows orientation cues from the reference performance. Image Orientation gives more weight to the character image's existing orientation. It is separate from landscape or portrait aspect ratio.
Should I choose 720P or 1080P?
Use 720P to test the image, video, orientation, background, and prompt. Use 1080P after the setup works and you need more output detail. The editor shows the current credit estimate before generation.
Does the prompt control the movement?
The reference video is the primary movement guide. The optional prompt refines the character, visual treatment, environment, and consistency requirements. Avoid writing motion instructions that contradict the source clip.
Can motion transfer produce an FBX or BVH file?
No. This workflow produces a generated video, not an editable skeleton, rig, FBX, BVH, or keyframe sequence.
Why does the character drift during a long clip?
Longer clips contain more pose changes, occlusions, and opportunities for the model to reinterpret the character. Test a shorter range, simplify the action, improve the source image, or divide the performance into separate shots.
Verified implementation references
The formats, file sizes, durations, orientation rules, background control, and quality options above were checked against the current site code and the current Kling 2.6 Motion Control API requirements and Kling 3.0 Motion Control API requirements.
When your image and reference are ready, open AI Image to Video Motion Control and begin with a short 720P test.
Author

Categories
More Posts
How to Body Swap in a Video With AI: A Practical Workflow
Learn how to body swap in a video with AI using a character image and reference clip. Follow the real input limits, settings, review steps, and fixes.
How to Animate a Character from a Photo with AI
Learn how to animate a character from a photo using a reference video. Prepare the image, transfer motion, write prompts, and fix common animation problems.
AI Body Swap for TikTok: How to Create Viral Content That Actually Works
A practical guide to making AI body swap videos for TikTok — what types of content perform best, how to prepare your shots, and how to avoid the mistakes that get your video scrolled past.