
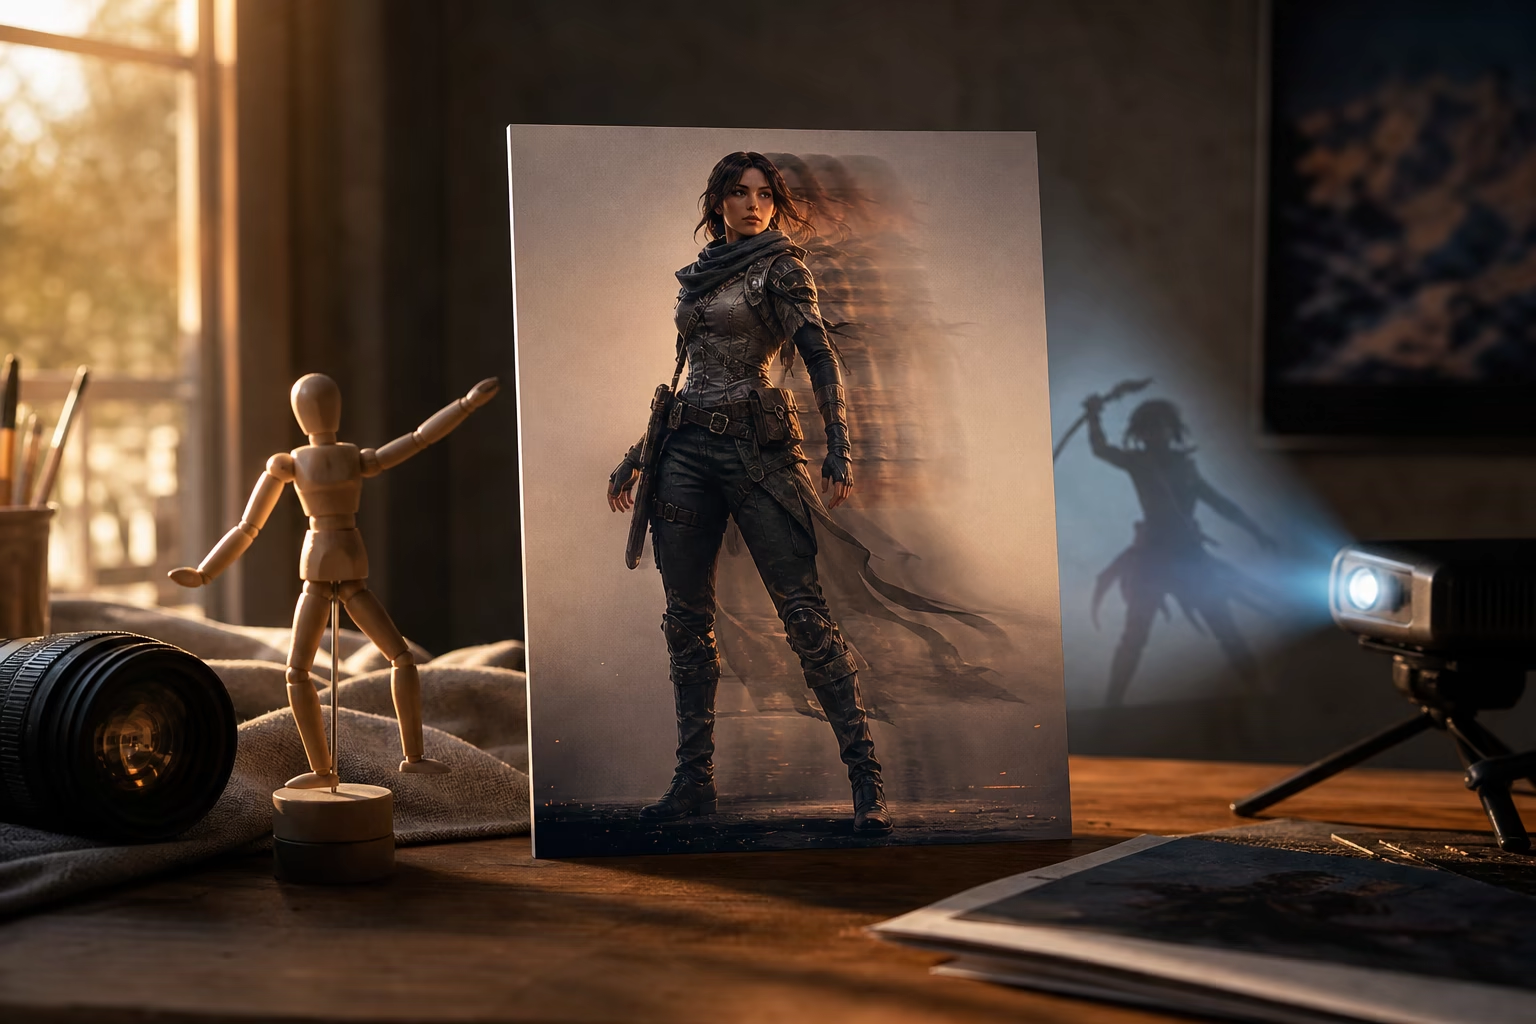
How to Animate a Character from a Photo with AI
Learn how to animate a character from a photo using a reference video. Prepare the image, transfer motion, write prompts, and fix common animation problems.
A single character image can become a moving video without drawing frames, building a skeleton, or learning traditional animation software. The most controllable workflow uses two inputs: a clear image of your character and a short reference video showing the exact movement you want.
Quick answer: To animate a character from a photo, upload the image to an AI character animation tool, add a reference video with one clearly visible performer, match the framing of the image to the video, and generate a short test. The reference supplies the movement; an optional prompt controls the background, lighting, and visual treatment.
This tutorial explains the complete workflow for human photos, anime art, cartoon mascots, game characters, and 3D renders. It also shows how to diagnose face drift, distorted limbs, weak motion, and other common failures.
Can AI animate a character from a photo?
Yes. AI can analyze a static character image, extract movement from a reference video, and generate new frames in which the character performs that movement.
The image provides the character's:
- Face and identity
- Clothing and colors
- Body proportions
- Art style
- Starting composition
The reference video provides the:
- Body pose and movement
- Hand gestures
- Head direction
- Facial performance
- Timing and rhythm
This is different from asking a general image-to-video model to invent motion from text. A reference-based workflow gives you more control because the action already exists in the video.
It is also different from AI character swapping. Character animation starts with a static image and creates a new performance. Character swapping starts with an existing target video and replaces the person or character while preserving more of the original shot.
What you need before you start
Prepare these two files:
- A character image: JPG, PNG, or WEBP. A clear full-body or half-body image usually works best.
- A reference motion video: MP4, MOV, or AVI showing the action you want the character to perform.
For your first test, choose a five- to eight-second movement with:
- One person in frame
- A stable camera
- No cuts
- Limited occlusion
- A clean background
- A visible face, hands, and limbs
Simple gestures, walking, waving, presenting, and moderate dance movements are easier than flips, rapid spins, fighting, or multi-person interaction.
Choose the right animation workflow
Before generating, make sure character animation is the right tool for your goal.
| Your goal | Best workflow | Why |
|---|---|---|
| Make a character copy a specific dance, walk, or gesture | Character animation with a reference video | The reference gives the model exact movement and timing |
| Add subtle camera movement or atmosphere to a still image | AI Image to Video | You can describe the motion without providing a performance |
| Transfer detailed performance with Kling engines | Kling AI Motion Control | It provides model-specific reference motion controls |
| Replace the person in an existing video | Character Swap AI | The target video already contains the shot and movement |
| Drive a virtual character from your own recorded performance | AI Performance Capture | The workflow is organized around performer-to-character direction |
If you know exactly how the character should move, use a reference video. If you only want a subtle zoom, blinking, hair movement, or environmental animation, a regular image-to-video workflow may be simpler.
Step 1: prepare the character image
The source image determines how much visual information the model has to preserve. A beautiful image is not automatically a good animation source; the body must also be readable.
Match the crop to the movement
Use a full-body image when the reference shows full-body motion. Use a half-body image when the reference focuses on gestures, speech, or upper-body performance.
If the reference dancer moves both legs but the character image ends at the waist, the model has to invent the missing lower body. That often causes unstable proportions, clothing changes, or distorted legs.
Keep the pose neutral
A relaxed standing pose is easier to animate than crossed arms, sitting, kneeling, or a dramatic action pose. The model must transition from the source pose to the first pose in the reference, so large differences create visible warping at the beginning.
For best results:
- Keep arms separated from the torso
- Leave visible space between the legs
- Avoid hands hidden behind the body
- Use a front-facing or three-quarter view
- Match the character's starting pose to the first reference frame
Make the face easy to read
Use an image with:
- Clear eyes, nose, and mouth
- Even lighting
- Minimal motion blur
- No heavy shadow across the face
- Enough resolution to preserve small details
Masks, sunglasses, hair covering the face, and extreme profile angles reduce the facial information available to the model.
Simplify difficult clothing and accessories
Loose fabric, capes, long skirts, transparent materials, and thin accessories require the model to predict secondary motion. They can work, but they usually need more generations.
For the first test, prefer:
- Clothing with clear edges
- Solid or simple patterns
- Accessories that do not cover the hands or face
- Strong contrast between the character and background
Once the basic image and reference pairing works, test more complicated costumes.
Step 2: choose a reference video
The reference is not just inspiration. It is the motion instruction.
Use one clearly visible performer
The system needs to follow a single body across the entire clip. Group videos, people passing in front of the performer, and body parts leaving the frame can cause the generated character to merge, disappear, or change shape.
Prefer a stable camera
A stationary camera helps the model separate character movement from camera movement. Handheld shake, zooms, rapid pans, and cuts add unnecessary ambiguity.
Good first references include:
- A person waving in front of a plain wall
- A short walk toward the camera
- A presenter using clear hand gestures
- A simple dance recorded on a tripod
- A turn with the full body remaining visible
Match the body proportions when possible
A human reference can animate a stylized character, but extreme proportion differences increase difficulty. A realistic adult performance may not map cleanly to a tiny mascot, a character with very short limbs, or a non-humanoid creature.
Choose a reference whose movement is physically readable for your character. For a mascot, broad gestures often work better than detailed finger choreography.
Start short, even when longer output is available
The tool supports animations up to 30 seconds, but a short test is easier to evaluate and cheaper to repeat. Start with five to eight seconds. Once the inputs are stable, increase the duration or create several clips and edit them together.
Step 3: upload the image and reference video
Open the AI Character Animation Generator and upload the character image first. Check that the preview has not cropped the face, hands, feet, or important costume details.
Then upload the reference motion video and confirm:
- The video starts on the action you want
- There are no unwanted cuts at the end
- The performer stays visible
- The image and video use similar framing
- The video orientation matches the intended output
For a vertical social video, use a vertical character image and reference when possible. Changing from a wide image to a vertical reference can force the model to rebuild too much of the composition.
Step 4: write a prompt that supports the reference
The reference video controls the movement, so the prompt should not rewrite the choreography. Use it to clarify the character, environment, lighting, camera, and quality constraints.
A practical structure is:
[Character to preserve] + [scene and lighting] + [camera] + [quality constraints]Example for an anime character:
Preserve the exact anime character design, face, hairstyle, clothing colors,
and body proportions from the source image. Clean cel-shaded studio background,
soft front lighting, fixed camera. Stable identity and costume throughout,
natural limb motion, no face morphing, no extra fingers.
Example for a brand mascot:
Keep the exact mascot shape, logo placement, colors, and facial design.
Bright minimal brand background with even lighting and a locked camera.
Clear silhouette, consistent proportions, clean hand gestures,
no costume changes or background warping.
Example for a photorealistic character:
Preserve the person's exact facial identity, hairstyle, outfit, and body shape.
Natural indoor lighting, neutral background, static medium shot.
Realistic skin texture, stable face and clothing, natural hands,
no identity drift or flicker.
Avoid adding a conflicting action such as "running quickly" when the reference shows slow walking. The model is already receiving motion information from the video.
Step 5: generate a short diagnostic clip
Treat the first result as a test, not the final animation. Watch it once at normal speed and once frame by frame.
Check these areas in order:
- Identity: Does the face still look like the source character at the end?
- Silhouette: Do the head, torso, arms, and legs keep the correct proportions?
- Motion: Does the character follow the important beats of the reference?
- Hands and feet: Do fingers, wrists, ankles, and shoes remain stable?
- Clothing: Are colors, patterns, and costume edges consistent?
- Background: Does it remain stable instead of pulsing or bending?
Change one input at a time. If you replace the image, reference, prompt, and duration together, you will not know which change improved the result.
Step 6: refine the result
Use the symptom to decide what to change.
| Problem | Most likely cause | What to change |
|---|---|---|
| Face changes during the clip | Face is small, shadowed, angled, or low resolution | Use a clearer front-facing image with even lighting |
| Arms or legs bend incorrectly | Cropped limbs or large pose mismatch | Use a wider source image and match the starting pose |
| Character barely follows the reference | Motion is too fast, obscured, or complex | Trim to a simpler movement with one visible performer |
| Hands merge or gain fingers | Hands are too small or blurred in the reference | Use a closer, sharper reference with slower gestures |
| Clothing changes color or shape | Detailed patterns, loose fabric, or poor contrast | Simplify the outfit or strengthen character/background contrast |
| Background flickers | Busy source or reference background | Use a cleaner background and a fixed camera |
| First second looks warped | Source pose differs from the first reference frame | Choose a better-matched image or trim the video start |
| Character style becomes realistic | Prompt does not reinforce the original art style | Explicitly preserve cel shading, line art, pixel art, or 3D render style |
If the output fails in several areas at once, replace the source image or reference video before making the prompt longer.
How to keep the same character across multiple clips
Consistency becomes harder when you create a sequence instead of one animation.
Reuse the same source image
Do not switch between different drawings or photos of the same character unless you intentionally want a new angle. Differences in expression, lighting, and costume details can make the character look different from clip to clip.
Lock the character description
Write one short identity block and copy it into every prompt:
Preserve the exact face, hairstyle, clothing, colors, body proportions,
and art style from the source image.
Keep the wording stable. Change the environment portion of the prompt only when the scene needs to change.
Build the sequence from short shots
Several controlled five- to eight-second clips are usually easier to manage than one complicated 30-second performance. Keep the aspect ratio, resolution, source image, and identity prompt consistent, then combine the clips in an editor.
Keep reference videos visually compatible
If one reference is full-body and the next is an extreme close-up, the generated character may change scale or proportions between shots. Plan a sequence with deliberate shot transitions.
What kinds of characters can you animate?
Anime and illustrated characters
Use clean line art, visible limbs, and a simple background. Reinforce the original illustration style in the prompt. Extreme hair shapes, capes, and highly detailed costumes may require shorter movements.
Cartoon and brand mascots
Choose broad, readable gestures. Preserve brand colors, logos, and silhouette in the prompt. Mascots with non-human proportions work best when the reference movement does not depend on detailed human anatomy.
Game characters and 3D renders
Use a clean render with clear lighting and visible joints. AI character animation is useful for previews, trailers, pitch videos, and social content, but it does not replace a rigged 3D animation file when you need editable bones or game-engine motion data.
Human photos
Use natural, unfiltered images with a clear face and visible body. Match the lighting and camera angle of the reference when possible to reduce the composited look.
Pixel art
Pixel characters can be animated, but the generated output is a video rather than an editable sprite sheet. Explicitly request consistent pixel-art scale, hard edges, and a limited color palette.
Character animation vs character swap
These workflows can produce similar-looking results, but they start from different assets.
| Character animation | Character swap |
|---|---|
| Starts with a static character image | Starts with an existing target video |
| Uses a reference performance to create a new animation | Replaces the person or character in the target footage |
| Best for bringing art, photos, mascots, or renders to life | Best for preserving an existing shot, edit, and movement |
| Gives more freedom to restyle the scene | Usually keeps more of the target video's structure |
Use character animation when the image is the main creative asset. Use Character Swap AI when the target video is the main asset and the goal is to replace its subject.
Frequently asked questions
Can I animate a character from only one photo?
Yes. One clear image is enough for the character's appearance. A reference motion video gives the system the movement to perform. Full-body actions work best when the source photo also shows the full body.
Do I need to draw different poses?
No. The AI generates the intermediate frames from the source image and reference motion. You do not need a turnaround sheet or hand-drawn key poses for a basic video animation.
Can I animate an anime character or drawing?
Yes. Anime art, cartoons, mascots, pixel art, human photos, and 3D renders can all work. Clean outlines, readable anatomy, visible limbs, and a simple background improve the result.
What reference video works best?
Use one performer, a stable camera, no cuts, minimal occlusion, and movement that remains fully visible. Start with a five- to eight-second clip before attempting longer or more complicated motion.
Why does the character's face change?
The face may be too small, shadowed, angled, or low resolution in the source image. Use a clearer front-facing image, keep the test short, and reinforce the exact identity in the prompt.
Can I make a character talk?
You can use a reference performance with visible speech and gestures. Results depend on facial detail and model support. For a presenter or performance-driven workflow, also see AI Performance Capture.
Can I download a 3D rig, FBX, or BVH file?
This workflow creates a finished MP4 character animation. It does not produce an editable skeleton, FBX, BVH, or game-engine motion-capture file.
How long can the animation be?
The tool supports output up to 30 seconds. For more consistent results, test a short segment first and build longer sequences from several controlled clips.
Is the animation free to try?
Yes. You can start with free credits and test the image-plus-reference-video workflow before choosing a paid plan.
Ready to bring your character to life? Animate a character from your photo →
Author

Categories
More Posts
AI Body Swap for TikTok: How to Create Viral Content That Actually Works
A practical guide to making AI body swap videos for TikTok — what types of content perform best, how to prepare your shots, and how to avoid the mistakes that get your video scrolled past.
How to Body Swap in a Video With AI: A Practical Workflow
Learn how to body swap in a video with AI using a character image and reference clip. Follow the real input limits, settings, review steps, and fixes.
Kling AI Motion Control Tutorial: Prompts, Workflow & Fixes
Learn how to use Kling AI Motion Control with a character image and reference video. Compare Kling 2.6 vs 3.0, write prompts, fix drift, and create consistent clips.