
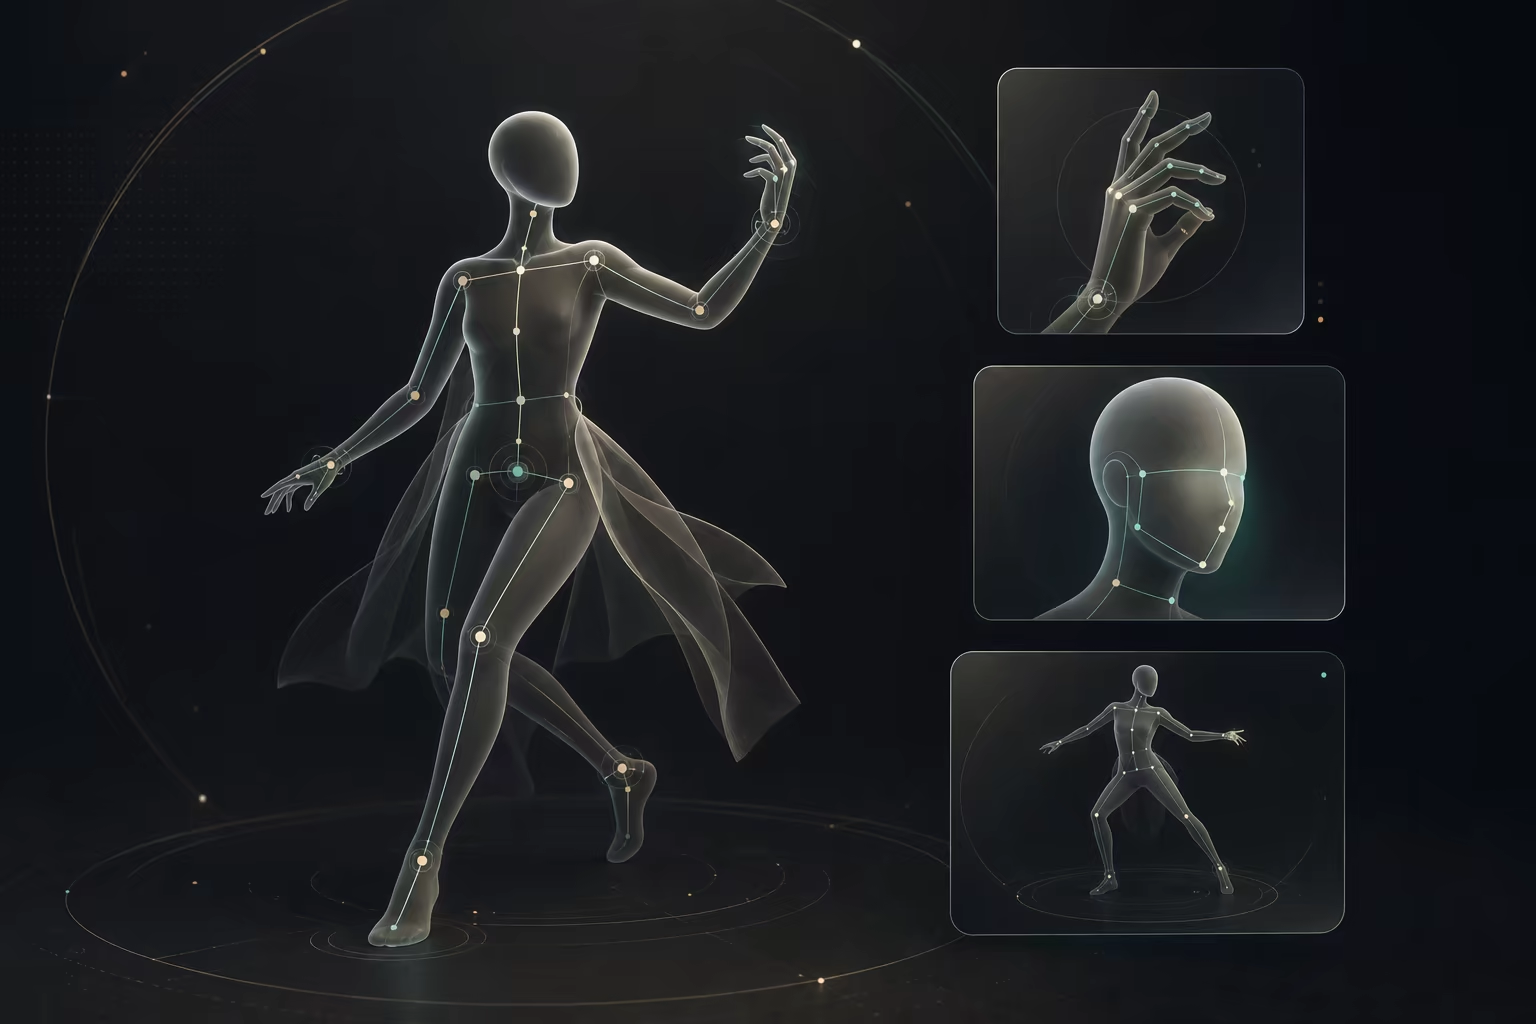
How to Body Swap in a Video With AI: A Practical Workflow
Learn how to body swap in a video with AI using a character image and reference clip. Follow the real input limits, settings, review steps, and fixes.
To body swap in a video with AI, you need two different assets: a video containing the performance you want to keep and an image showing the replacement character. The video supplies movement, timing, framing, and often the background. The image supplies the new character's visible identity and appearance.
Quick answer: Open Character Swap AI, upload one clear JPG or PNG character image, add a 3–30 second reference video, choose the orientation and quality settings, then generate a short test. Review the face, body proportions, hands, clothing, background, and motion before spending credits on a longer or higher-quality version.
This is not the same as changing a body in a still photo. Our AI Body Swap page is an image-editing workflow. For an existing video, use Character Swap AI or a motion-control workflow that accepts both a character image and a reference video.
What does "body swap in a video" actually mean?
The phrase is used for several different editing jobs. Choosing the wrong workflow can produce a technically valid result that does not match what you intended.
| Your intended result | Correct workflow | What stays from the source |
|---|---|---|
| Replace only a face | Video face swap | Body, clothing, motion, and most of the original frame |
| Replace the visible performer with another character | Character or full-body swap | Motion, timing, camera, and selected scene details |
| Make a still character perform movement from a clip | AI Image to Video Motion Control | The reference movement and timing |
| Change a body or outfit in one photo | AI Body Swap | The original still-image composition |
A generative character swap does not simply paste a new body over every frame. It uses the reference clip to guide a newly generated character performance. That is why a clean character image and readable reference motion matter more than a long prompt.
What you need before starting
The current editor supports Kling 2.6 Motion Control and Kling 3.0 Motion Control for the image-plus-video workflow. These are the input limits enforced by the current implementation and upstream model requirements.
| Input or setting | Kling 2.6 Motion Control | Kling 3.0 Motion Control |
|---|---|---|
| Character image | JPG or PNG | JPG or PNG |
| Image upload size | Up to 10MB | Up to 10MB |
| Reference video | MP4, MOV, or MKV | MP4 or MOV |
| Video upload size | Up to 100MB | Up to 100MB |
| Reference duration | 3–30 seconds in Video Orientation; 3–10 seconds in Image Orientation | 3–30 seconds |
| Quality | Standard 720P or Pro 1080P | Standard 720P or Pro 1080P |
| Orientation | Follow the video or preserve the image orientation | Follow the video or preserve the image orientation |
| Background source | Determined by the model workflow | Choose the input video or input image |
| Prompt | Optional | Optional, up to 2,500 characters at the provider layer |
Kling 3.0 also requires the image and video dimensions to be greater than 340 pixels and their aspect ratios to fall between 2:5 and 5:2. Our upload route limits images to 10MB and videos to 100MB.
The editor shows a live credit estimate. Check it immediately before generating because cost depends on the selected model, quality, and applied clip duration, and pricing can change independently of this tutorial.
How to body swap in a video with AI step by step
Step 1: decide whether you need a full character swap
Use Character Swap AI when the whole visible performer should change. This can include the face, hair, body shape, clothing, or stylized character design.
If the original body and clothes should stay and only the face should change, use a face-swap workflow instead. If you only have a still photo and no target video, use the image-based AI Body Swap tool.
Step 2: choose the target video
The target video determines the performance the replacement character must follow. Start with a clip that has:
- One clearly visible main performer
- A continuous shot instead of rapid cuts
- Limited occlusion across the face, torso, hands, and legs
- Enough contrast between the performer and background
- A duration you can test without wasting credits
A 3–8 second diagnostic clip is usually easier to evaluate than starting with the full 30-second limit. The point of the first generation is to determine whether the image and video are compatible.
Trim away title cards, empty frames, unrelated camera moves, and the moment before the action begins. The editor transcodes the selected range and uses the applied clip duration for generation and billing.
Step 3: prepare the replacement character image
Use one JPG or PNG image with a single dominant character. Match the crop to the reference:
- For a full-body dance or walk, use a full-body character image.
- For seated speech or upper-body gestures, a waist-up image can be enough.
- Keep the face, hands, and important clothing details visible.
- Avoid a pose that strongly conflicts with the first frame of the video.
- Avoid collages, text overlays, watermarks, and multiple possible subjects.
If the reference shows both legs but the image stops at the waist, the model must invent the missing anatomy and clothing. That increases the chance of unstable proportions or an abrupt visual change in the first seconds.
Step 4: choose Kling 2.6 or Kling 3.0
Both models accept one character image and one motion reference, but the controls are not identical.
Choose Kling 2.6 when you need MKV input or want the explicit 10-second Image Orientation and 30-second Video Orientation workflow.
Choose Kling 3.0 when you need to select whether the generated background follows the video or the character image. Kling 3.0 accepts MP4 and MOV references and supports up to 30 seconds in the current editor.
Do not select a model only because its version number is newer. Run the same short image-and-video pair through the settings you are considering, then compare the result that matters for your shot.
Step 5: select Character Orientation
The editor provides two orientation choices:
Video Orientation follows the orientation and framing cues in the reference video. This is the default and is usually the logical choice when preserving the original performance is the priority. Kling 2.6 allows up to 30 seconds in this mode.
Image Orientation gives more weight to the orientation in the character image. With Kling 2.6, the reference must be 3–10 seconds in this mode.
Orientation does not mean horizontal versus vertical aspect ratio. It tells the motion-control model whether the character's orientation should be guided primarily by the image or the video.
Step 6: choose the background source in Kling 3.0
Kling 3.0 exposes a separate Background Source control:
- Input Video: use the reference video as the main background guide. Choose this when the replacement character should remain in the original scene.
- Input Image: use the character image as the main background guide. Choose this when the image's environment is important to the intended result.
This choice can change more than the backdrop. It affects how much of the original composition the generation tries to retain, so test both sources if the character looks disconnected from the scene.
Step 7: choose 720P or 1080P
The current interface maps Standard mode to 720P and Pro mode to 1080P.
Start at 720P while checking whether the inputs, orientation, and background source work together. Move to 1080P after the motion and identity are acceptable. Higher resolution cannot repair a bad source pairing; it only generates the selected interpretation with more output detail and higher credit cost.
Step 8: write an optional prompt
The reference video already supplies the movement. Use the prompt to clarify appearance, scene treatment, or what should remain stable.
A useful prompt is specific and short:
Replace the performer with the character from the uploaded image.
Preserve the reference timing, camera position, and full-body action.
Keep the character's face, hair, outfit, and body proportions consistent.
Use the background from the input video.
Avoid adding a second, conflicting action. If the reference shows walking and the prompt demands an acrobatic dance, the model receives two incompatible motion instructions.
Step 9: generate a test and review it in order
Watch the result at normal speed and then frame by frame around difficult moments. Review:
- Identity: Does the face and character design remain recognizable?
- Silhouette: Do body proportions and clothing remain stable?
- Hands and feet: Do they remain attached and readable during fast motion?
- Motion: Does the action sequence follow the reference?
- Contact and occlusion: Do crossed arms, props, chairs, and foreground objects behave plausibly?
- Background: Does the scene stay stable, especially around the character boundary?
- First and last frames: Do they contain sudden pose or identity changes?
Change only one input or setting between tests. If you replace the image, video, orientation, background, prompt, and quality at the same time, you will not know which adjustment helped.
Common AI video body swap problems and fixes
| Problem | Likely cause | First change to test |
|---|---|---|
| Face changes during the clip | Face is small, shadowed, angled, or blocked | Use a clearer image with a larger, evenly lit face |
| Body proportions jump | Image crop and reference framing do not match | Pair full-body with full-body or upper-body with upper-body |
| Hands merge or disappear | Fast motion, occlusion, or low visual contrast | Shorten the clip and choose a cleaner reference |
| Character looks pasted into the scene | Lighting or background source conflicts | Match lighting or switch Kling 3.0 Background Source |
| Motion becomes weaker | Reference action is difficult to read | Use a single-person clip with a stable camera and clearer limbs |
| Clothing changes between frames | Fine patterns, flowing fabric, or partial occlusion | Use a simpler character image and a shorter test |
| First second is distorted | Starting poses are too different | Trim to a better first frame or choose a closer source pose |
| Good 720P test becomes expensive at 1080P | Longer duration and Pro mode increase cost | Finalize the clip range before switching quality |
Regeneration is not a guaranteed repair. If several areas fail at once, replace the source image or reference video instead of making the prompt longer.
Body swap, character swap, and motion transfer: which page should you use?
Use Character Swap AI when you have a target video and want a different visible performer in that shot.
Use AI Image to Video Motion Control when the central goal is to make a character image reproduce movement from a reference performance.
Use AI Body Swap when the source and result are still images rather than a video.
The underlying image-plus-reference-video workflow overlaps, but the search intent is different. A body-swap task begins with "replace the performer." A motion-transfer task begins with "make this character perform that movement."
Rights, consent, and responsible use
Only upload videos, character images, and likenesses that you own or are authorized to use. Do not use body swapping to impersonate a real person, misrepresent an event, evade consent, or create deceptive commercial endorsements.
For public or commercial work, keep the source license, model release, and generation record. Review the current rules of the platform where you plan to publish, especially when a realistic output could be mistaken for authentic footage.
Frequently asked questions
Can AI replace a full body in a video?
An AI character-swap workflow can generate a new visible character while using the reference video for motion, timing, and scene guidance. The result is generative rather than a guaranteed frame-perfect compositing operation, so difficult occlusion, fast movement, and incompatible framing can still cause artifacts.
What files can I upload?
The current Kling 2.6 workflow accepts JPG or PNG images and MP4, MOV, or MKV videos. Kling 3.0 accepts JPG or PNG images and MP4 or MOV videos. Images are limited to 10MB, videos to 100MB, and reference clips must be between 3 and 30 seconds, subject to the selected model and orientation.
Why is Image Orientation limited to 10 seconds in Kling 2.6?
That limit comes from the current Kling 2.6 motion-control workflow. Video Orientation supports up to 30 seconds, while Image Orientation accepts a 3–10 second reference. Kling 3.0 supports 3–30 seconds for both orientation choices in the current implementation.
Is 1080P always better for body swapping?
1080P provides a higher-detail output, but it cannot correct an incompatible image, unclear reference video, or wrong setting. Validate the shot at 720P first, then use 1080P for the selected final setup.
Should the prompt describe the movement?
Usually not in detail. The reference video is the motion instruction. Use the optional prompt for the character, environment, background choice, and consistency constraints. Avoid contradicting the visible action.
Does body swap preserve the original video exactly?
No. Motion-control character replacement generates a new video guided by the source. It can preserve important movement and scene cues, but it does not promise pixel-identical motion, background, anatomy, or identity in every frame.
Verified implementation references
The file types, upload sizes, durations, orientation choices, and model-specific controls above were checked against the live site implementation and the current Kling 2.6 Motion Control API requirements and Kling 3.0 Motion Control API requirements.
Ready to test the workflow? Open Character Swap AI, start with a short reference clip, and compare one setting at a time.
Author

Categories
More Posts
Kling AI Motion Control Tutorial: Prompts, Workflow & Fixes
Learn how to use Kling AI Motion Control with a character image and reference video. Compare Kling 2.6 vs 3.0, write prompts, fix drift, and create consistent clips.
How to Transfer Motion From Video to Character With AI
Learn how to transfer motion from video to character with AI. Prepare the image and reference clip, choose real settings, write prompts, and fix common failures.
How to Create a Viral AI Dance Video (Step-by-Step Guide)
Learn how to turn a single photo into a realistic AI dance video in minutes. Complete workflow, prompt tips, and troubleshooting guide for beginners.